
First off Barry M Naill effects were 2 for £6 this weekend in Superdrug - Not sure when this deal is ending but I got the Black Nail Sequin and the Yellow and Blue Confetti... I also treated my self to a Glittery Purple/ Pea Mint Green!

I'm not sure whether I'm missing a trick with the Black Sequin Varnish, but the sequins aren't showing up as nicely as they are in the pot... I tried putting the polish on by its self quite thickly, then again thinly and then ontop of an old MUA (Shade 1) Midnight colour. If I am missing a trick please, please comment below and give me a heads up, but for the me this is quite a 'Grunge', 'Winter' or 'S&M/Rhianna' look.

(I know return of the yellow and pear table cloth)...

I tried the Confetti out on a few colours, but my favourite was on the Limited Edition Neon Green which really highlights the blue and yellow. Not to keen on the Star Gazer orange but it is Experiment Sunday...


So the next experiment - The Princess Pink Mani. If you've taken the time to read through my last post I was looking for a Perfectly Pink Mani to put in my display pic as after all I am The Pink Princess Z, and was thinking of something along the lines of my Vera Wang Pink Princess Perfume Bottle.

And finally... Wild Flower Printing, this was inspired by two things:
1) Maria's Nail art and Polish Blog - Maria's Nail Art and Polish Blog is a blog I follow which does a lot of hand painted flowers, something I don't yet have the patience or ability to do but wish I could!
2) My walk home from work - There is a flower on a bush I walk past every night from work and wondered what it would look like if I dipped it in nail varnish and then printed it on to a nail varnish.

Yes I am just a little bit nail potty. Anyway I wondered whether using small flowers they'd print in a flower shape (saving me a lot of time and effort hand detailing)... Typically I got to my mums and the smallest flower she had wasn't even a forget me not, anyway I mainly used grasses and this plant called a Buddleia. Below is a quick look at the results...

No.1 - The Dead Buddleia: Don't use a dead buddleia. I haven't tried fresh one yet, maybe I shall approach this next weekend. Basically it's not the best for printing and as you can see the little bits fall off everywhere. I'm not sure whether this is less messy than doing a splatter.


No. 2 Lavender: Don't use lavender. Period. Unless you have a lot of it and don't mind getting messy. The little flowers carried on sticking into the paint/on the nail rather than just transferring the paint. This may have looked better with different colours.


No.3 Grass Type 1: Not sure what to call this grass, I'm sure you know the devil. Quite liked this one, however in complete honesty I think it looks better in the photo than in real life. Also when your using something like this you have to press down the grass, so I would suggest doing it on acrylics, getting the varnish off your finger tips (where you've been pressing it down) and then sticking the nails on.

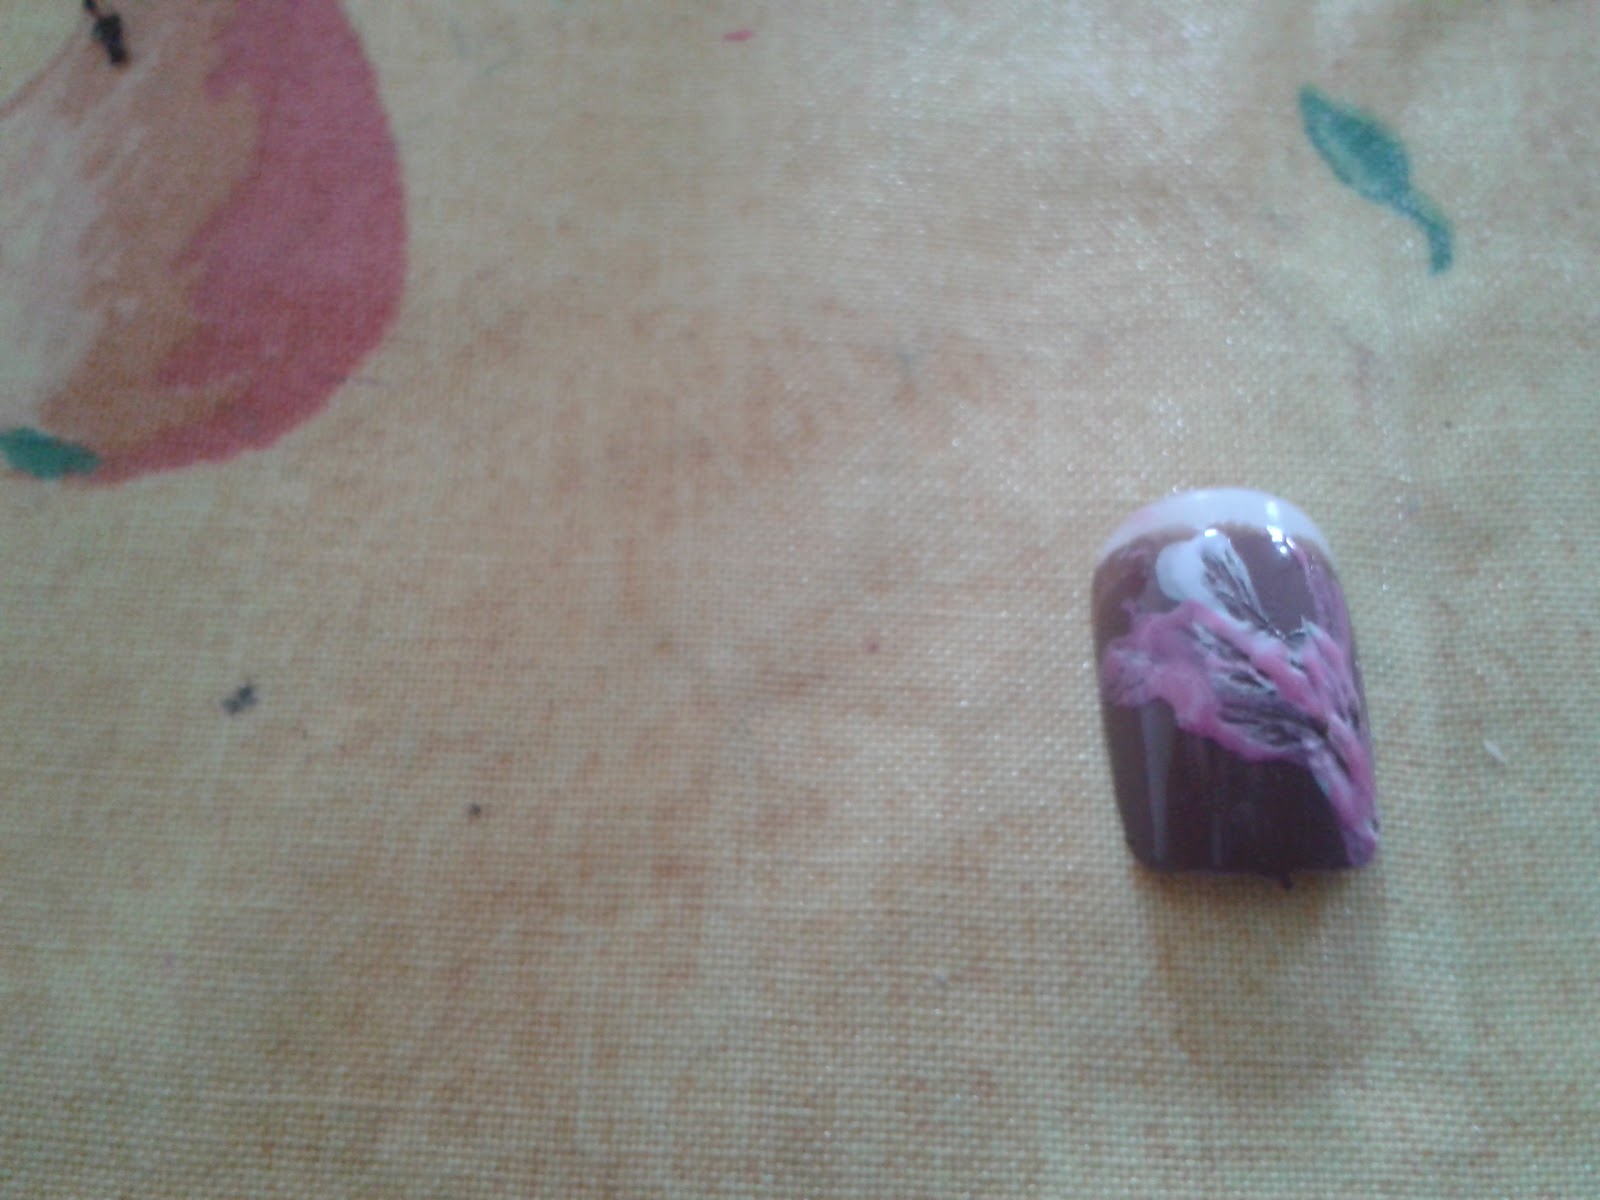
No.4 Grass Type 2: I tried not to push this one down but there wasn't much coming off, so I just went for it in the end. Again I think it looks better in the picture, but maybe I am just hyper critical in the flesh!


No.5 Wild flower/Namitia? : LOVE LOVE LOVE. So I picked this one fresh but it had started to dry and curl a bit when it got round to the artsy bit, but this actually helped create the 'Butterfly' effect you see. Which I love if you couldn't tell. & Bonus! I didn't have to press it down - this was a pretty mess free effect just involved wiggling the flower around in the varnishes, and then wiggling it around on the nail a bit.

No.6 Grass Type 3: I LOVE this too. No. 6 & 5 are my faves. This one is so rainbow, peacock, summer. I didn't have to press with this grass I just did a bit of wiggling, as described above and more dabbed on the corners, took a while to get the layering but I adore the end result.


If you are going to try printing by wild flowers I would do a test first to see how your selection comes out and I would also make sure you have about 8 of them available, as they can get pretty gammy after one nail and it all gets stuck together and the pattern isn't as defined.
I hope you really enjoyed reading this post and maybe got a pinch of inspiration. Let me know what your thoughts are and be sure to comment with a link to your blog if you try any Wild Flower Printing. (I can also turn this into two separate posts if you wish...)
World Peace .\/..
Thank you for the kind words - and I enjoyed reading about your experiments. The nail on the last photo is my favorite, it looks really cool!
ReplyDeleteThank you for reading! I do always love your flowers, I think I'm gunna have to cheat with some water decals!
Delete